

We’re following the progress of woodcarving student Paul Flanagan @paulflanaganartist as his carving and gilding skills develop over the year. So far we have reported on his activities in week 1, weeks 2 & 3 and weeks 4 & 5.
Here’s our student woodcarver’s diary for weeks 6 & 7 of the BA course.
Week 6
For the next six weeks, the students on our BA Woodcarving & Gilding course will be introduced to clay modelling, armature building, mould making, and casting techniques with Sculpture, Modeling & Casting Tutor Kim Amis.
Over the course, the students will learn basic modeling and clay firing techniques that will be invaluable in their practice as a carver, and they’ll gain an understanding of the importance of extensive research skills.
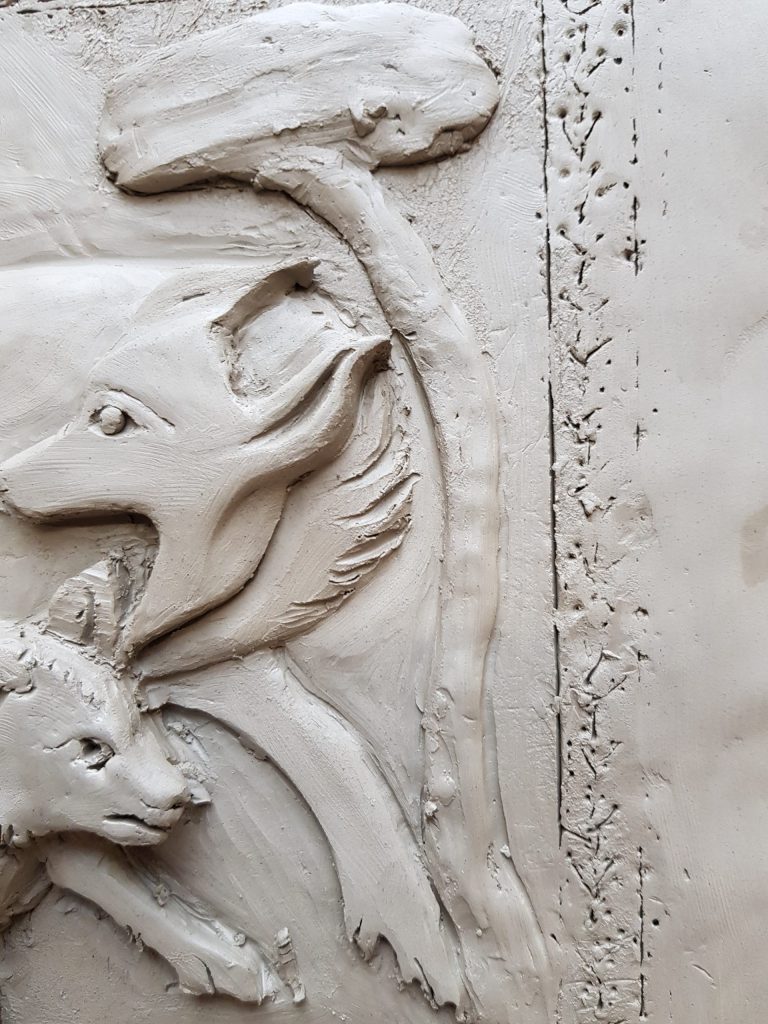
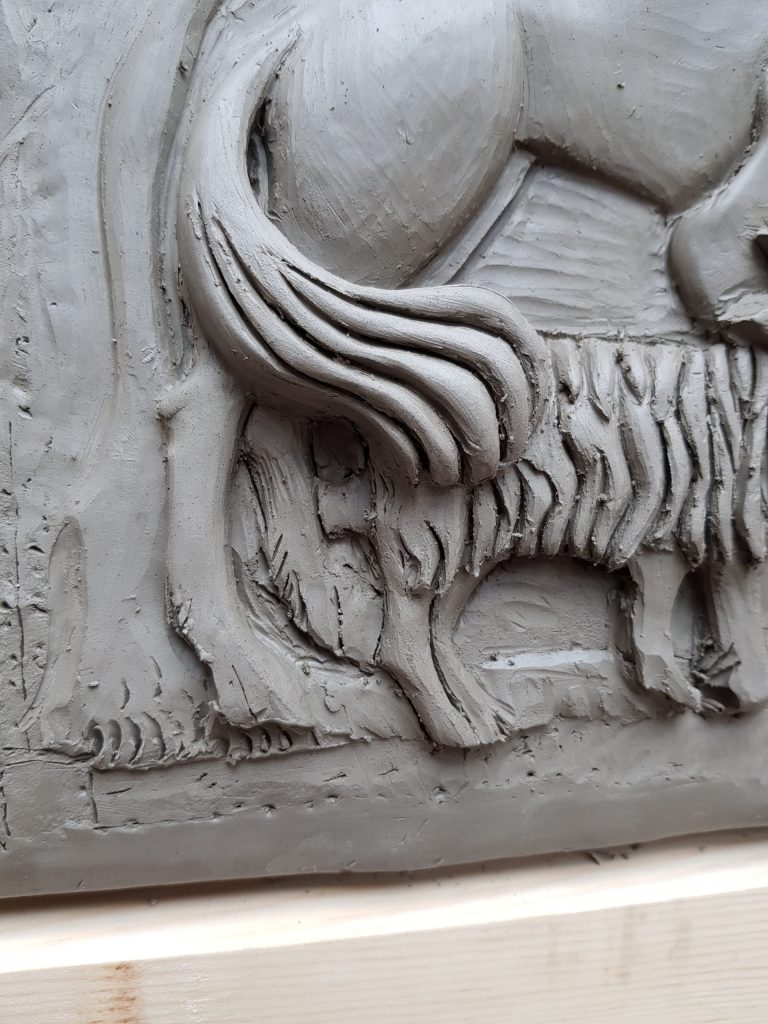
Their first project is the study of Medieval bestiary and their first job of the day is to build a suitable armature/support for a relief modelled in clay.
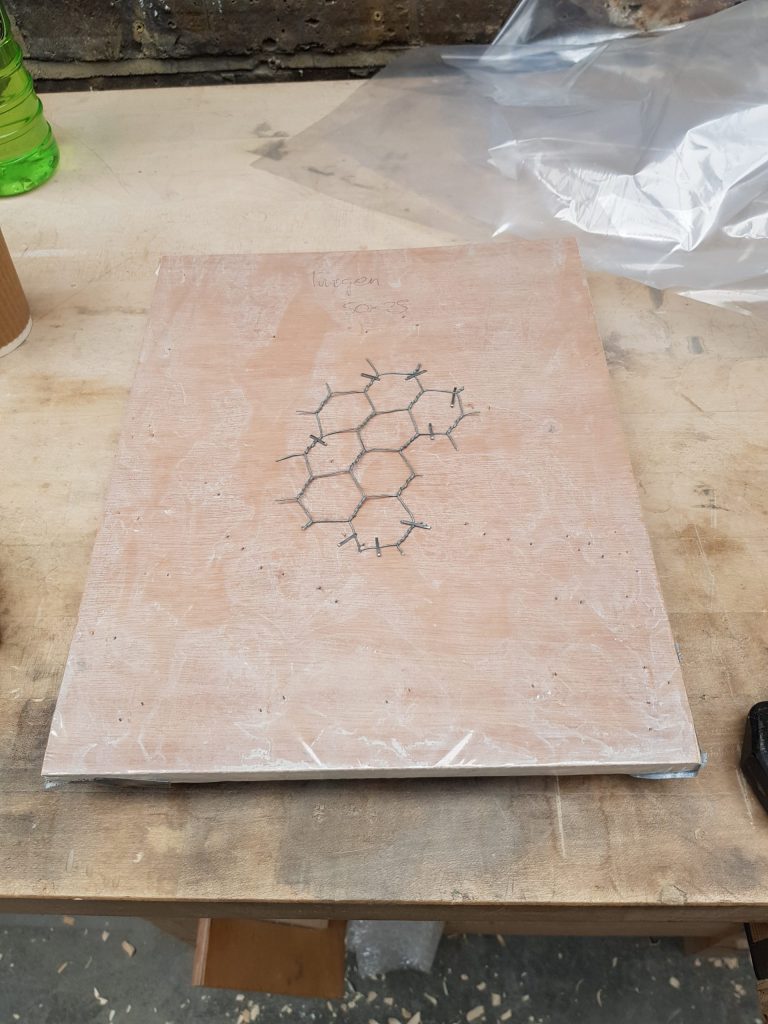
Then the clay is added to the board with the picture they are using positioned carefully on top and punctured to transfer the image into the clay.
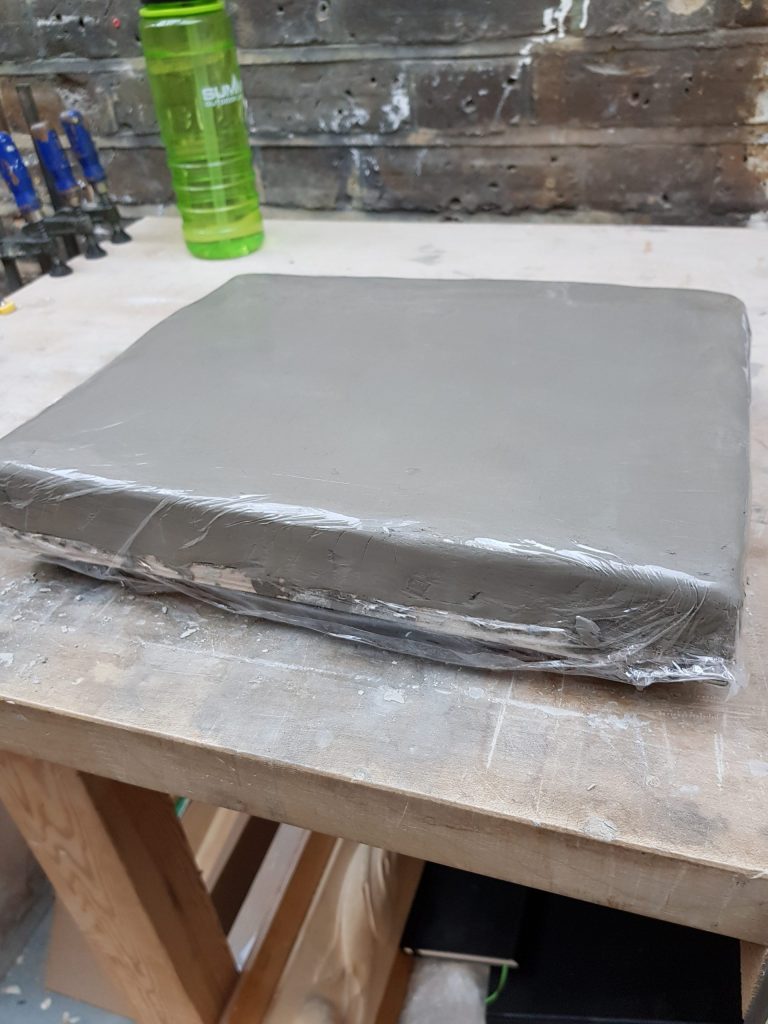

Now comes the tricky bit! The relief will be modelled using three different heights and the students have to decide how to split the image up into the different depths.

It’s really starting to take shape now! The students will have plenty more time to work on their relief models but that’s it for this week. Paul’s drawing classes are next on the agenda.
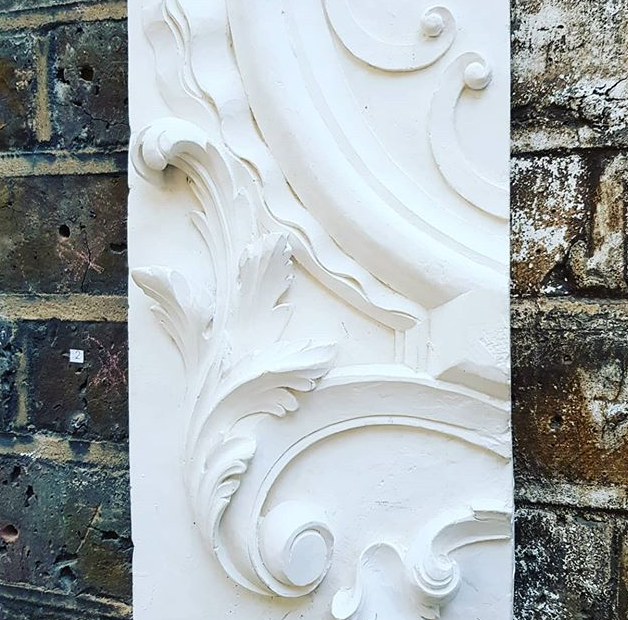
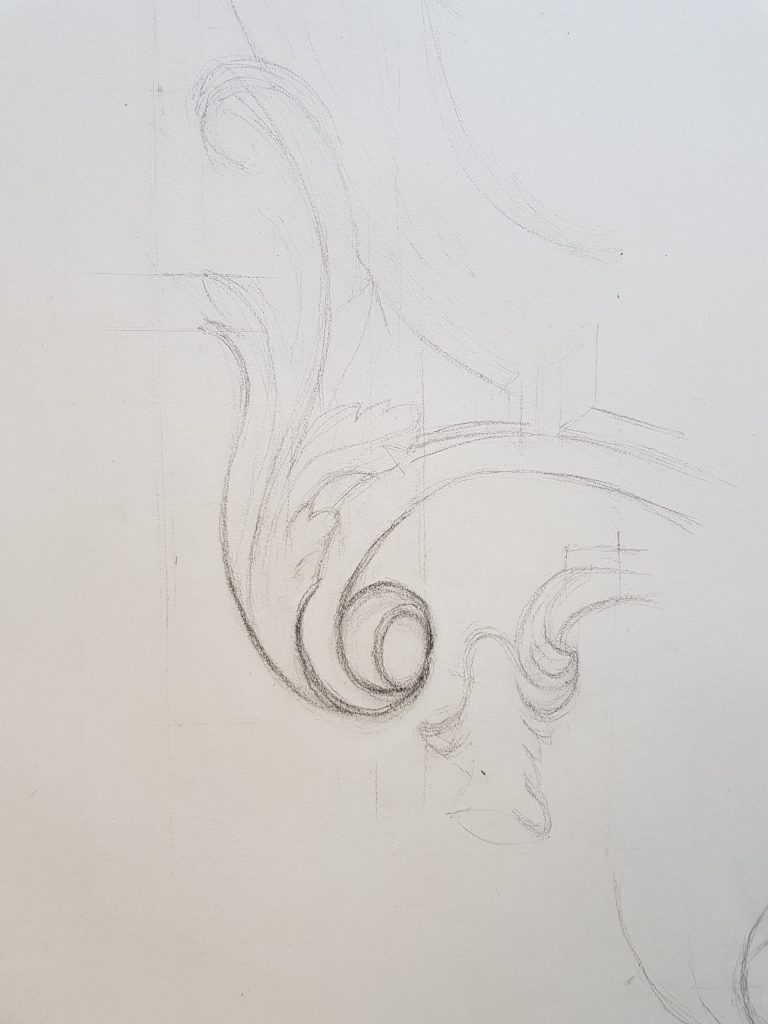
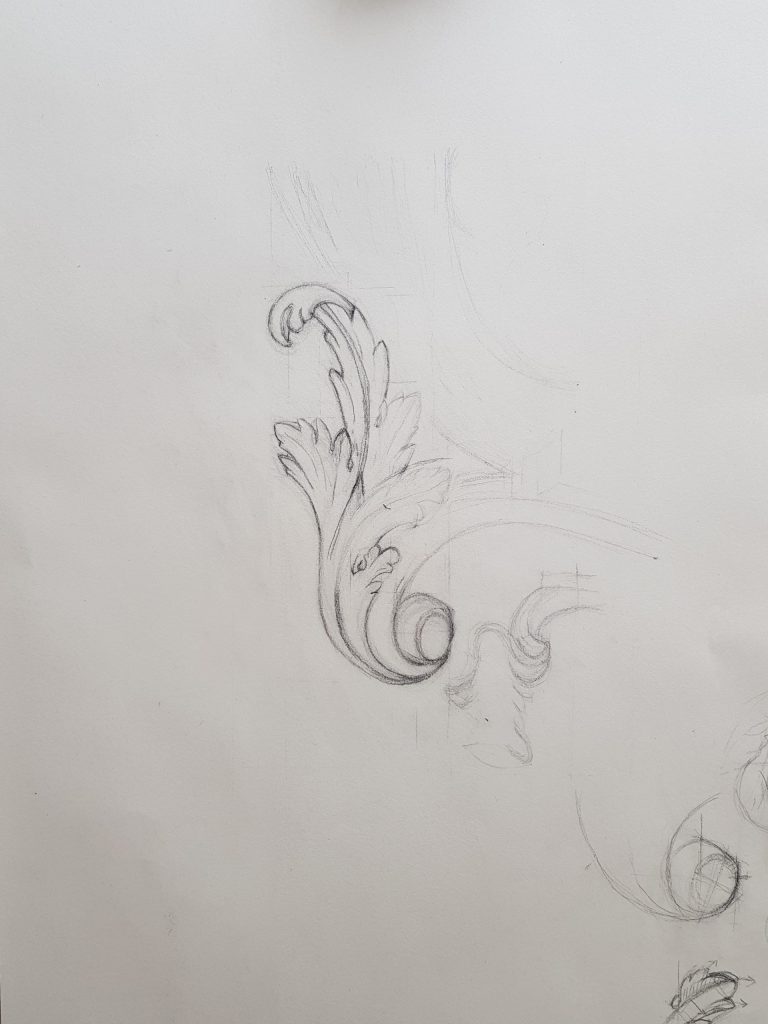
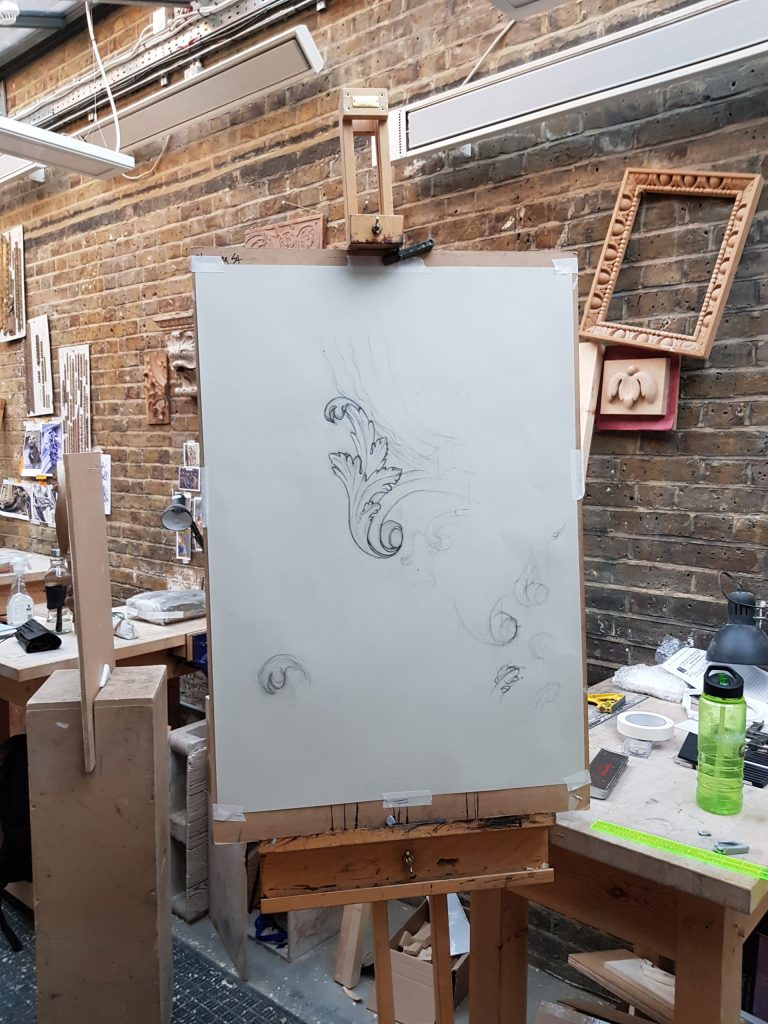
You may remember from our last blog that Paul has chosen a section of architectural ornament to draw. This week he revisits the scroll to make it look more realistic and makes changes to various parts of the ornament to ensure his drawing is a precise representation of the moulding.
Week 7
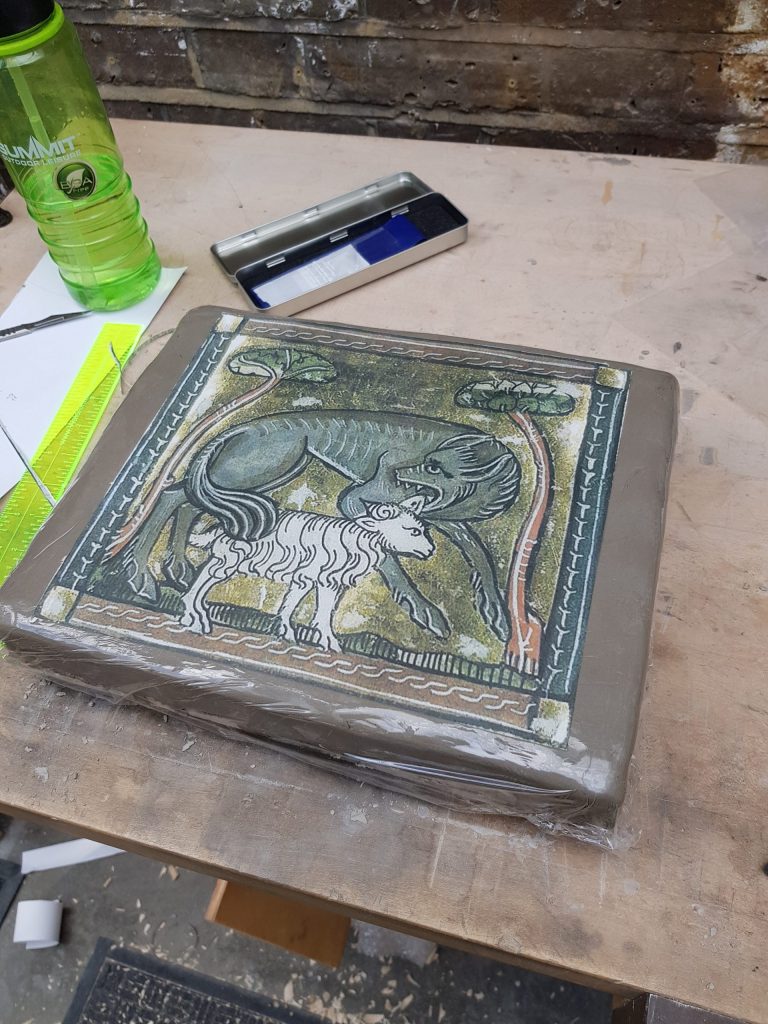
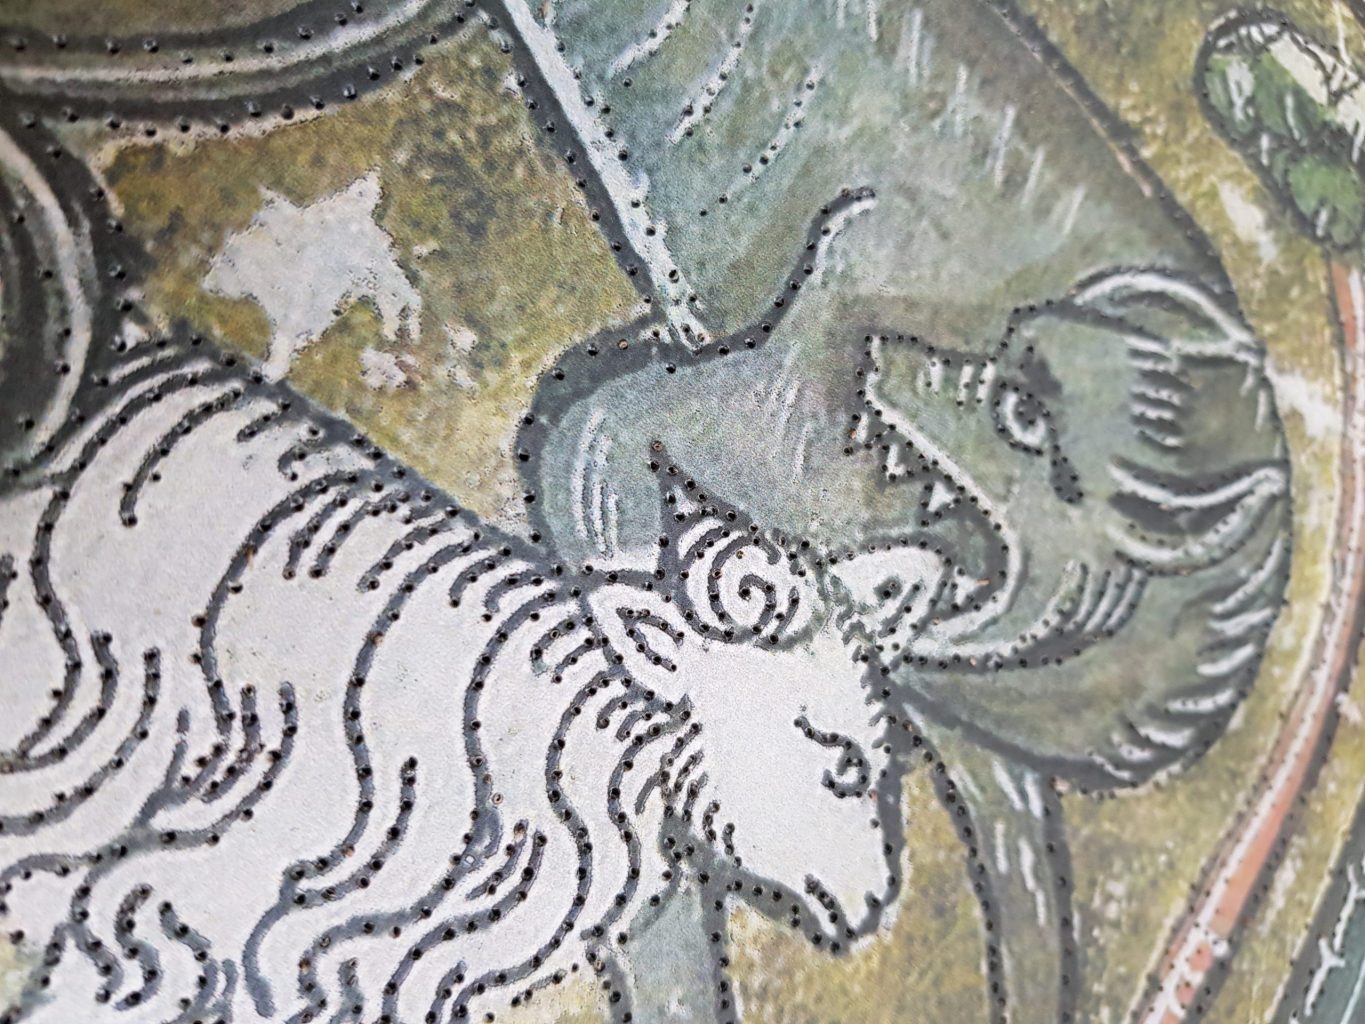
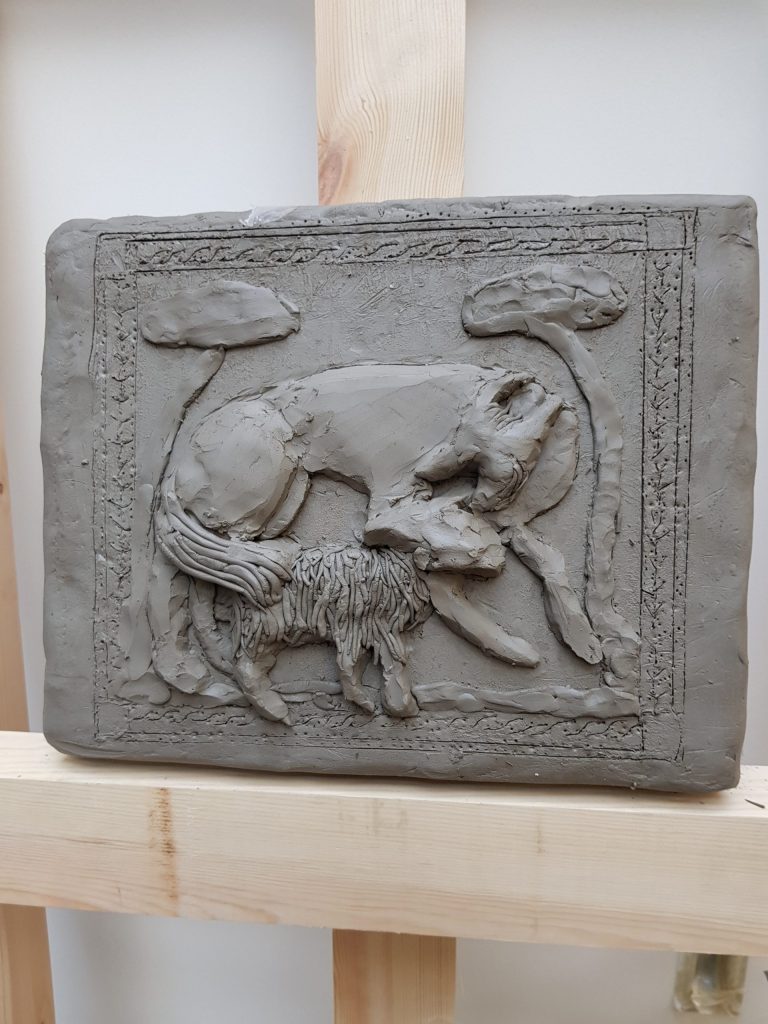
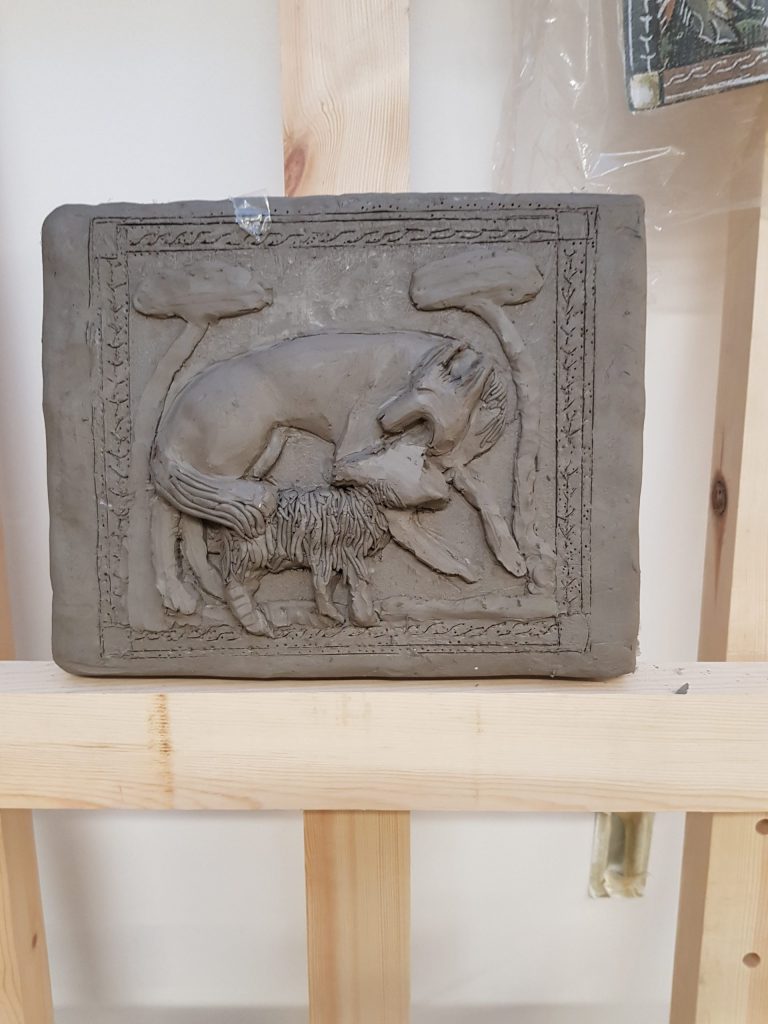
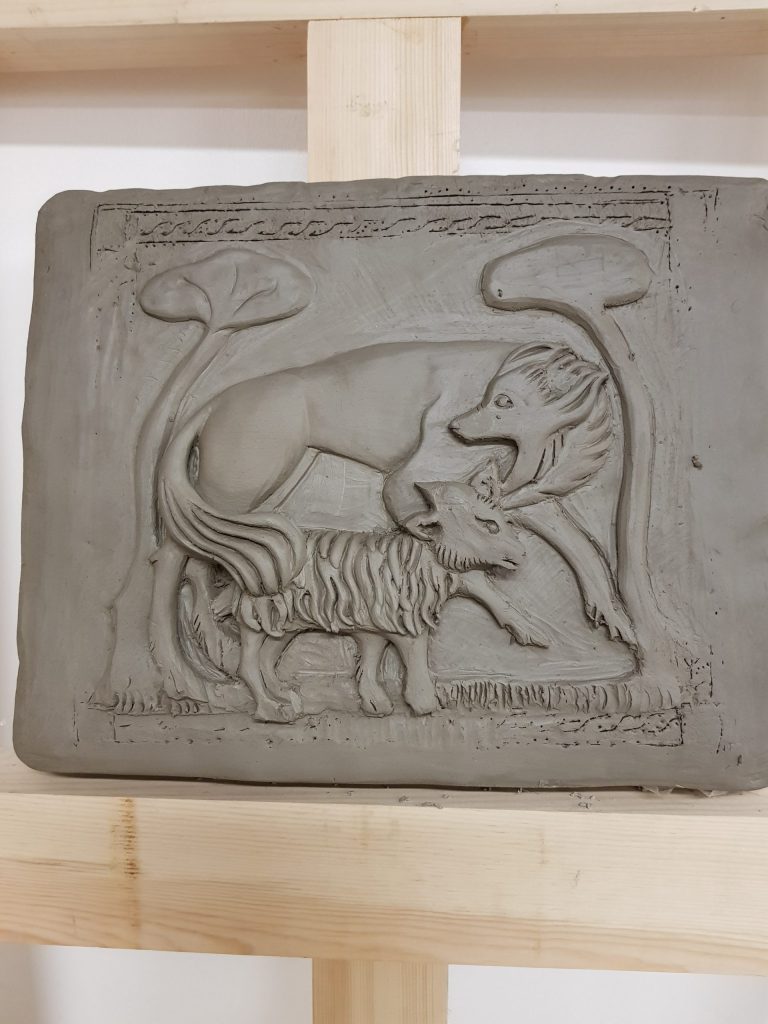
The week starts with a continuation of the clay modelling and casting classes that began last week. Paul chose a medieval motif of a wolf and goat to reproduce in relief using clay.
After some initial reservations about the proportions of the wolf’s body in relation to the head, Paul has developed the relief model, finessing the shape and adding finer detail. I think you’ll agree, by the time he’s finished, it looks fantastic!
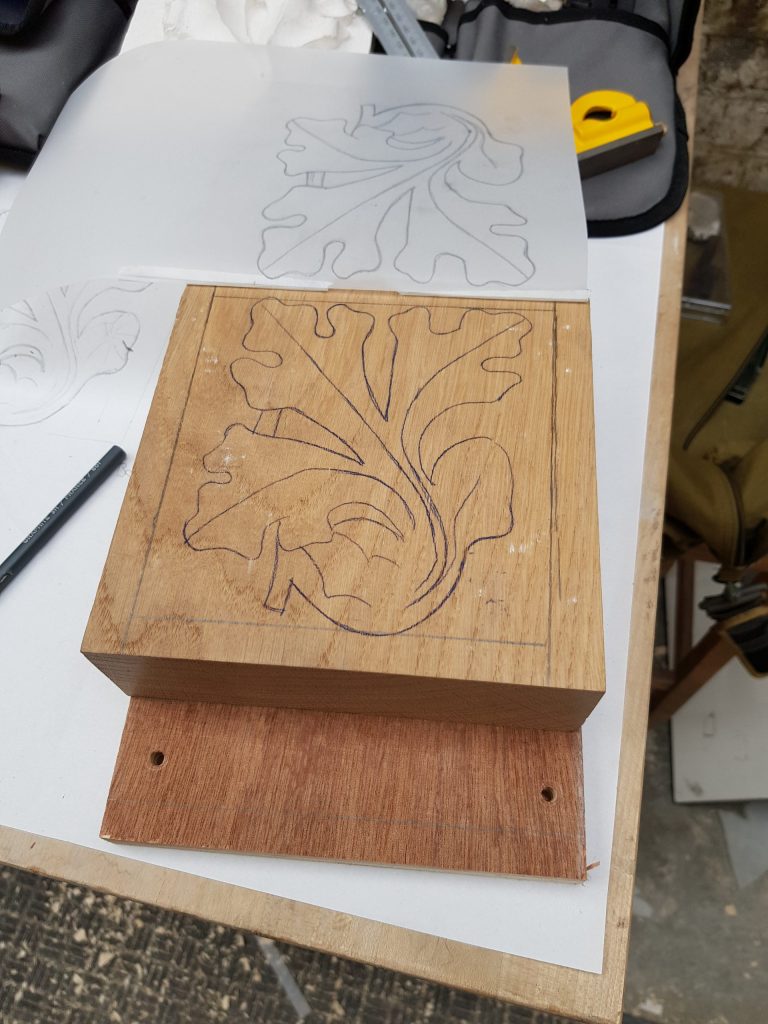
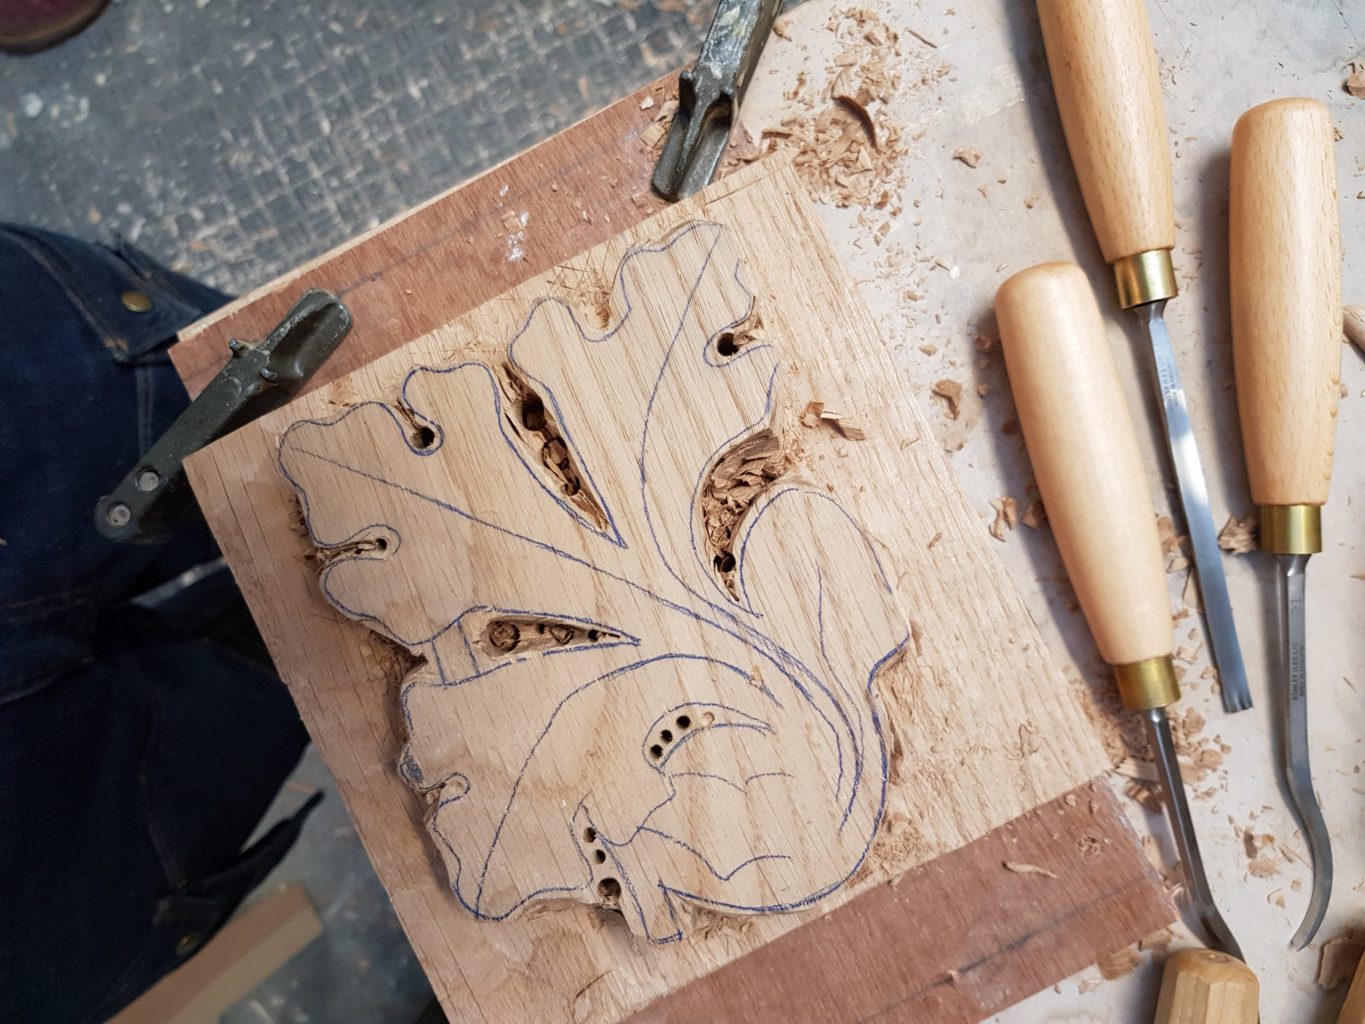
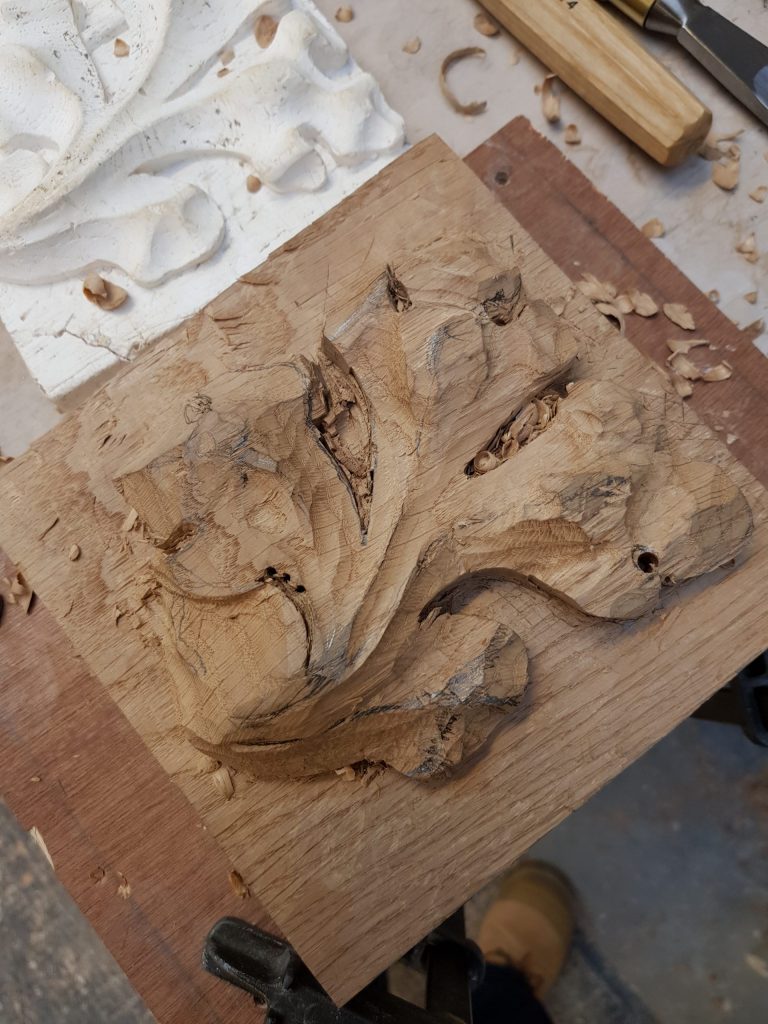
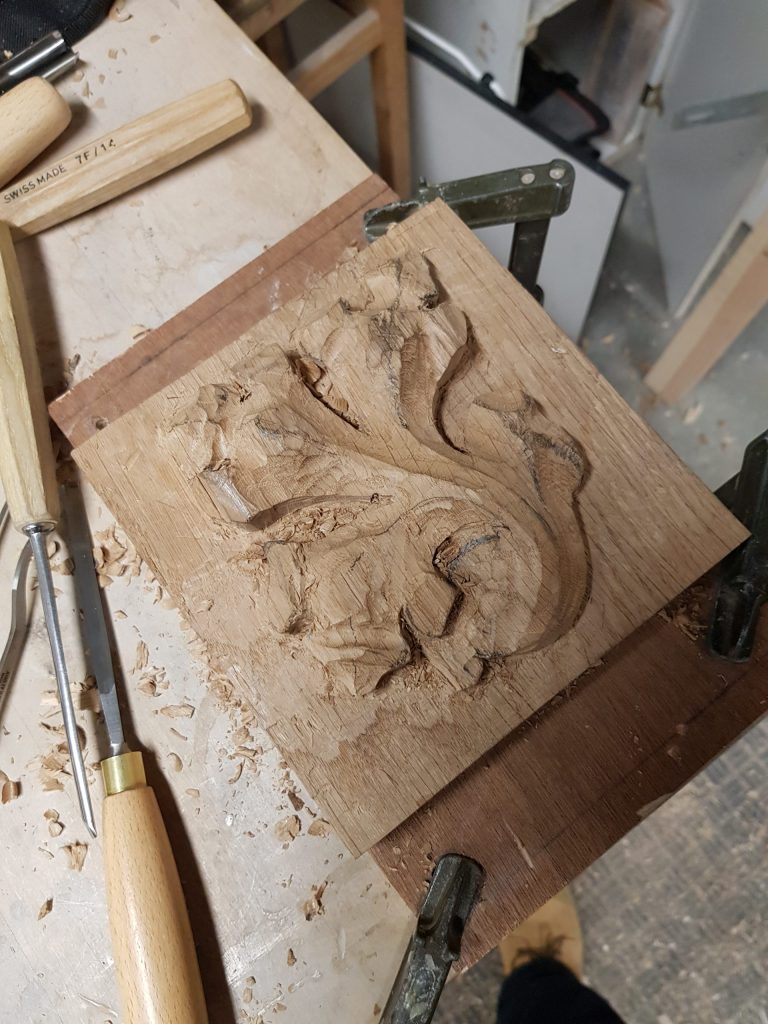
The course moves on to the next woodcarving module with tutor Tom Ball. In the last woodcarving unit, the students carved an acanthus leaf. Now they are going to tackle a gothic oak leaf motif, carved into a piece of oak.
After transferring the image onto the wood, working out the heights, cutting away the stock around the motif and carving out the shape, the oak leaf carving is taking form. Paul finds getting the levels right quite challenging on this project saying, “even though the piece isn’t small, with the peaks and troughs being so extreme it is actually quite fiddly. Still this is very good practice and I’m learning a lot from it.”

Friday brings an online Art Histories class for the student woodcarvers, and so another week comes to a close.
Next week the students will be introduced to lettering, a key skill for a wood or stone carver.
Photos courtesy of Paul Flanagan